Unless you lived under a mouldy rock in the last years, you are probably aware of the ongoing war – to obtain the perfect balance between privacy and security – that takes place in our digital life.
Stories like WikiLeaks, Edward Snowden, Cambridge Analytica and so on, have been on the first page of the news and security-related incidents continue to make the headlines almost daily.
The security and privacy realm are huge, providing a bulletproof solution is almost impossible, and the weakest link is, almost all the time, the end-user. But, with a little discipline and with the help of some apps, you can improve the privacy and security of your new iOS device easily and for free.
Below you may find 5 steps that you should perform on a new iOS device, before installing other apps and start using it.
Step 1 - Face ID
Face ID is designed to confirm user attention, provide robust authentication with a low false match rate, and mitigate both digital and physical spoofing. The TrueDepth camera automatically looks for your face when you wake your iPhone by raising it or tapping the screen, as well as when your iPhone attempts to authenticate you to display an incoming notification or when a supported app requests Face ID authentication. When a face is detected, Face ID confirms attention and intent to unlock by detecting that your eyes are open and directed at your device.
Apple claims that there is a 1 in 50.000 chance that someone else’s fingerprint will falsely unlock your iPhone (Touch ID) and a 1 in 1.000.000 chance that someone else’s face will do it. There’s a 1 in 10.000 someone could just guess a four-digit passcode and a 1 in 1.000.000 chance they could guess your six-digit passcode (and they get three tries before they’re locked out).
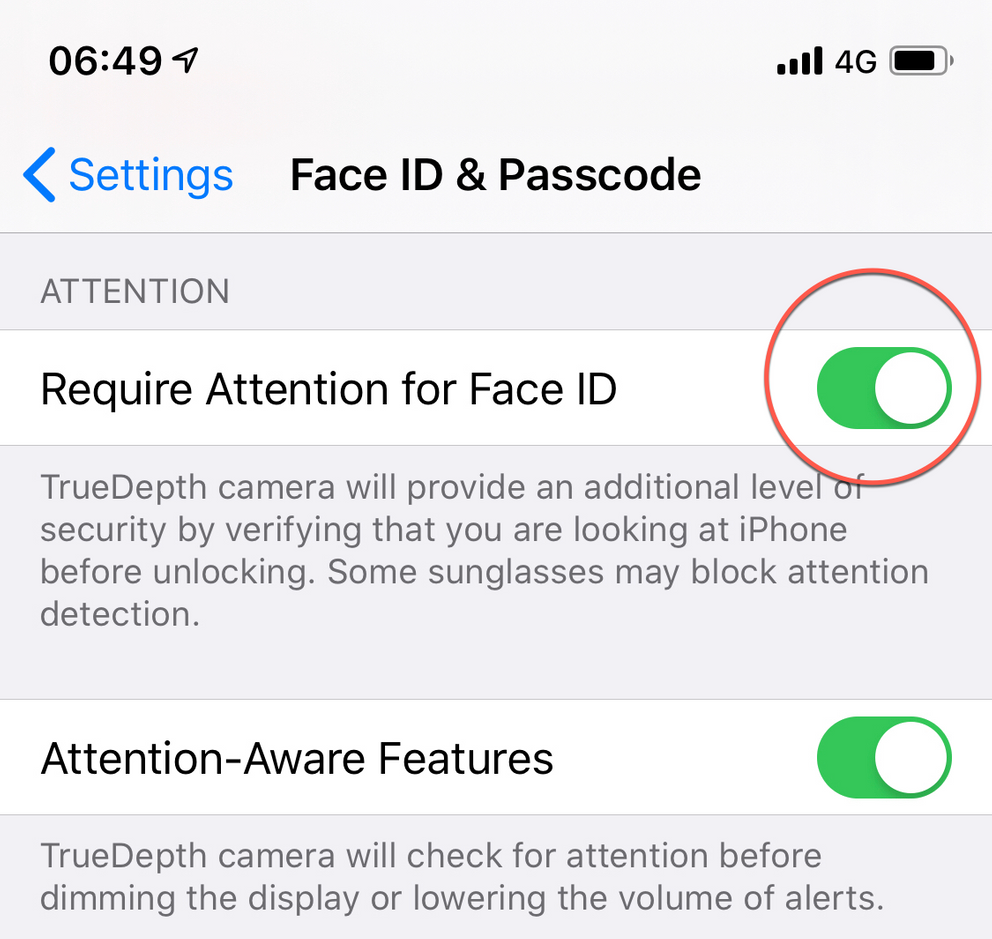
Turn on Require Attention
To make the hackers’ life harder and sleep a bit better, make sure Face ID Require Attention is turned on. Navigate to Settings » Face ID & Passcode and make sure Require Attention for Face ID is enabled. Apple’s description for this setting pretty much says it all.
Turn on Erase Data
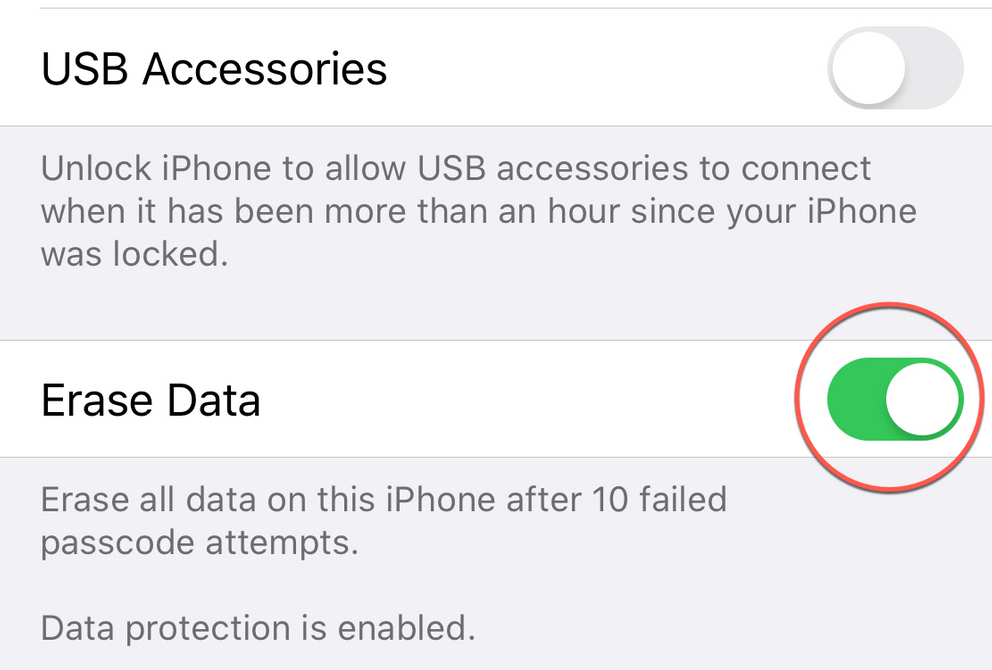
Have a friend who likes to check your phone while you are away? Is there a way to make sure no one sees the file on your phone without you knowing about it? Yep, there is. If you want to avoid these problems, just set your iPhone to erase all the data after ten failed passcode attempts. Navigate to Settings » Face ID & Passcode scroll to the bottom of the page and make sure Erase Data is enabled.
Step 2 - Safari
Prevent Cross-Site Tracking
When you browse from site to site, you’re often followed by trackers that collect data on where you’ve been and what you’ve done, using scripts, widgets or even tiny, invisible images embedded on the sites you visit.
Take, for example, those social share buttons embedded on many web sites. Sites may choose to include those buttons to gain useful analytics about their content, but the buttons also send data back to the social platforms. Sometimes, that makes sense, allowing you to share content on other social platforms. But often, that data also ends up being used behind the scenes to target advertising or create user profiles.
What also happens behind the scenes is that many more third parties – companies separate from the sites you’re visiting – are also receiving that activity, without your knowledge. Not knowing what’s up with your data is what makes cross-site tracking tricky. Those third parties – like data brokers, affiliate networks and advertising networks – use cookies, and other data tracking methods, to collect information about your browsing habits without your consent.
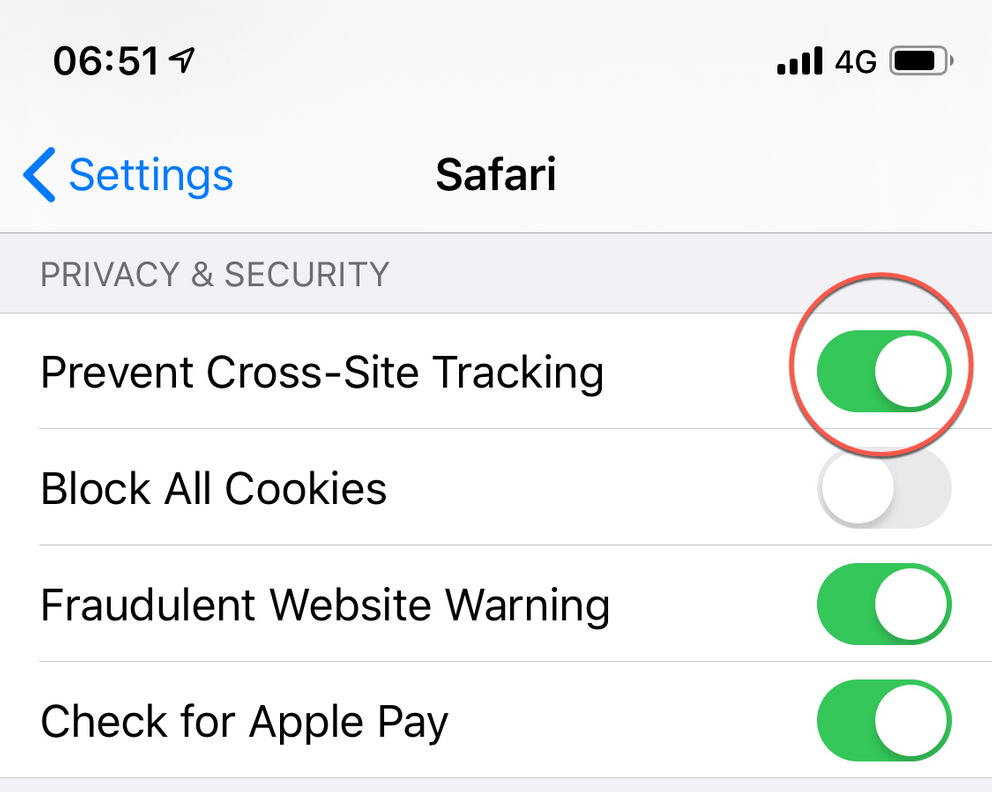
Let’s frustrate them! Navigate to Settings » Safari, scroll down to Cross-Site Tracking and make sure is enabled.
Change the default Search Engine
Searching the Internet using a search engine is free – in theory. In reality, Google and other major search providers collect data on you. They then use this data to create a unique profile for you to serve you hyper-targeted advertising.
DuckDuckGo to the rescue! DuckDuckGo doesn’t collect or store any data on you, it doesn’t target ads, and it doesn’t track your browsing history. In other words, if you care about online privacy — even in the slightest — you should be using DuckDuckGo as your primary search engine for routine browsing.
DuckDuckGo it’s an excellent alternative to many of the big-name search platforms you’re probably already using (yes, Google). But it’s not enough to just type in DuckDuckGo whenever you’d like to search. You should change the default search engine on your browser, too.
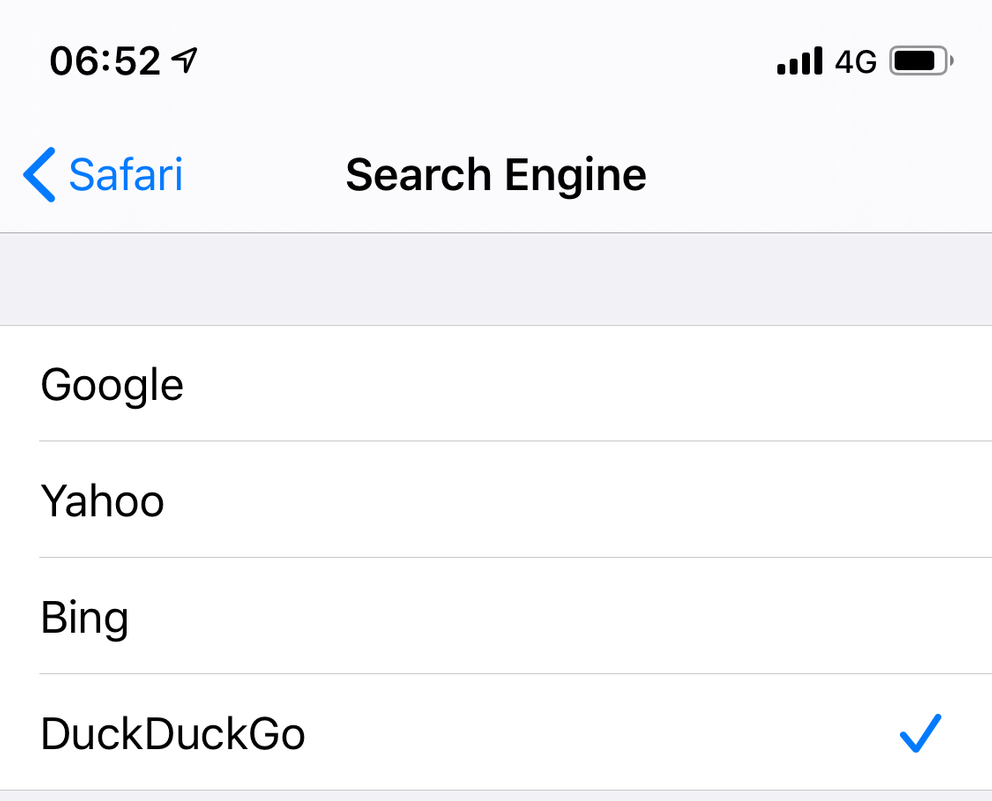
Open Settings, navigate and tap on Safari, tap on Search Engine and select DuckDuckGo and you are good to go.
Configure some Content Blockers
In iOS, a Content Blocker extension customizes the way Safari handles your content. The extension tailors your content by hiding elements, blocking loads, and stripping cookies from Safari requests.
Using a Content Blocker extension, you provide Safari with content-blocking rules that specify how Safari treats content such as images, scripts, and pop-up windows. Your rules can hide Safari-downloaded content or prevent Safari from requesting specific content from the server.
By reducing the amount of content Safari requests, your extension can reduce the amount of time required to load pages. When you block content from loading, you reduce Safari’s memory usage and improve Safari’s performance.
In addition to blocking unwanted content, a Content Blocker extension protects privacy. For example, the extension doesn’t have access to users’ browsing activity, and it can’t report activity to your app. By blocking cookies and scripts, the extension reduces the information that Safari provides to other web sites.
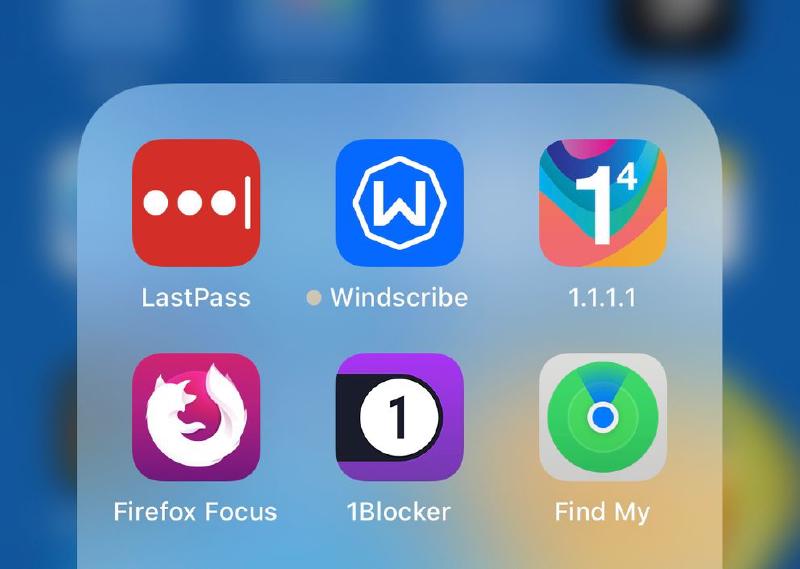
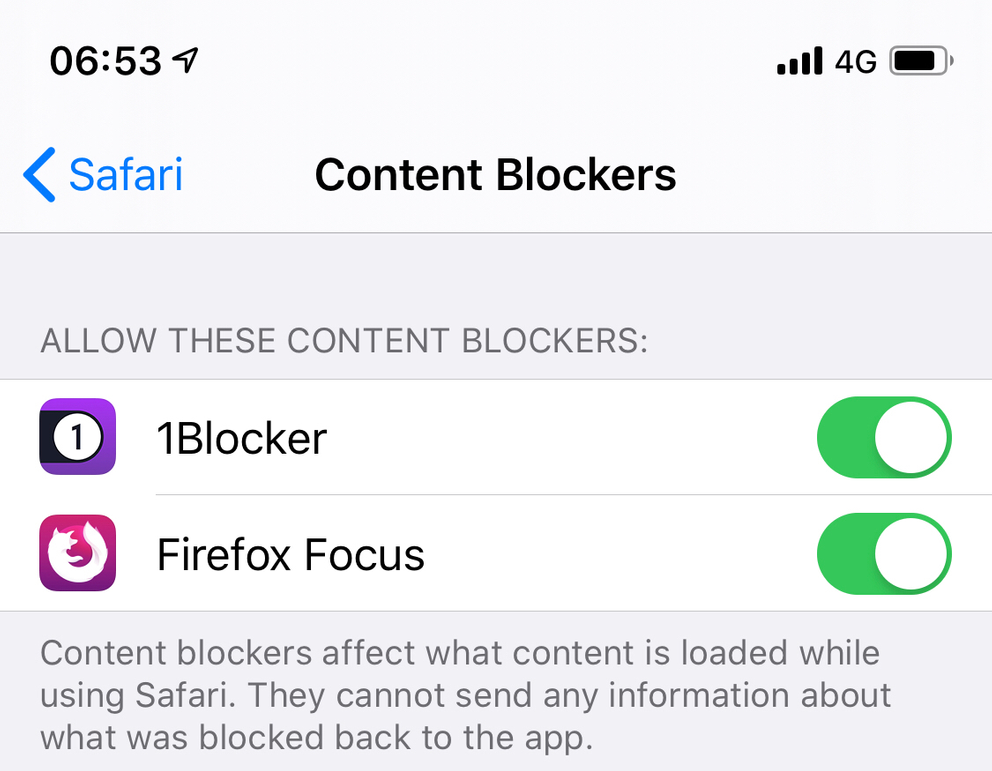
My simple recommendation is Firefox Focus and/or 1Blocker. Install them from App Store and then go to Settings » Safari, scroll to Content Blockers and enable both of them. Default settings should do for most of the users, for the advanced user, there is a ton of configuration options for both blockers.
Step 3 - Use a Password Manager
Forgetting the password for an important web site can send you down the tar pit of figuring out the password reset procedure. It’s tempting to use something so simple you won’t forget it or to memorize just one tricky password and use it everywhere. However, doing so is setting yourself up for major pain when some hacker guesses your simple password. On the other hand, if that complex, tricky password gets exposed in a breach, all your accounts are in danger.
The solution is to use a different password for every account, and make them both long and random, something like dVC%#P4c0Y2P3Ckatx1. Any chance you can remember dozens of strong passwords like that? If yes, skip the next part, this article, and forget you ever enter this site. Thank you! Otherwise, you need a password manager.
Enter LastPass Password Manager. LastPass password manager syncs passwords across Windows, macOS, Linux, Android, and iOS devices, has a two-factor authentication, actionable password strength report, secure sharing, password inheritance and automatic password change. Ah, and one more thing: it’s free.
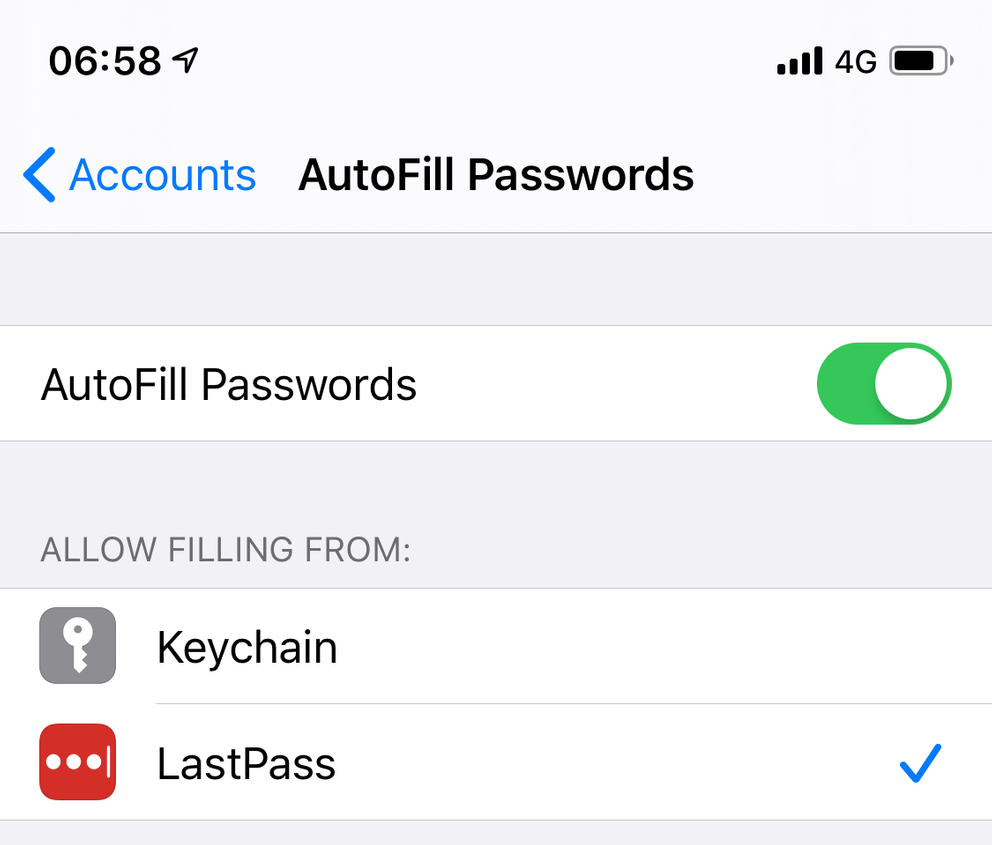
After you install it from App Store, open the Settings app, tap Passwords & Accounts, tap AutoFill Passwords, turn the toggle on to AutoFill Passwords, select LastPass from the list and deselect Keychain.
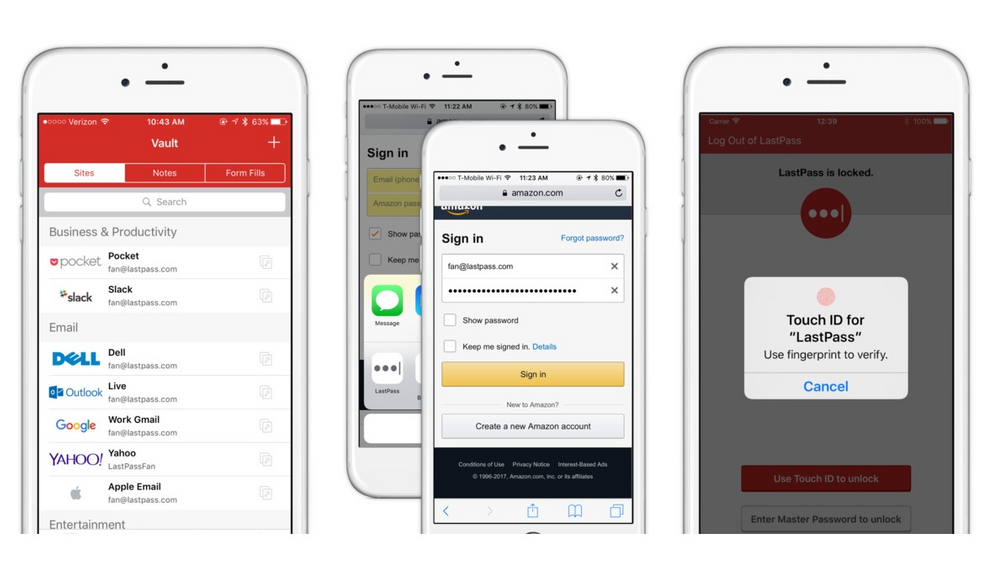
Next time you will need to log in in a web site or an app that is saved in your LastPass vault, voilà, c’est magique!
Step 4 - Use Secure DNS
Even if you are visiting a site using HTTPS, your DNS query is sent over an unencrypted connection. That means that even if you are browsing https://facebook.com, anyone listening to packets on the network knows you are attempting to visit facebook.com.
The second problem with unencrypted DNS is that it is easy for a man-in-the-middle to change DNS answers to route unsuspecting visitors to their phishing, malware or surveillance site.
To combat these problems, we have DNS resolution over an HTTPS endpoint, aka DoH.
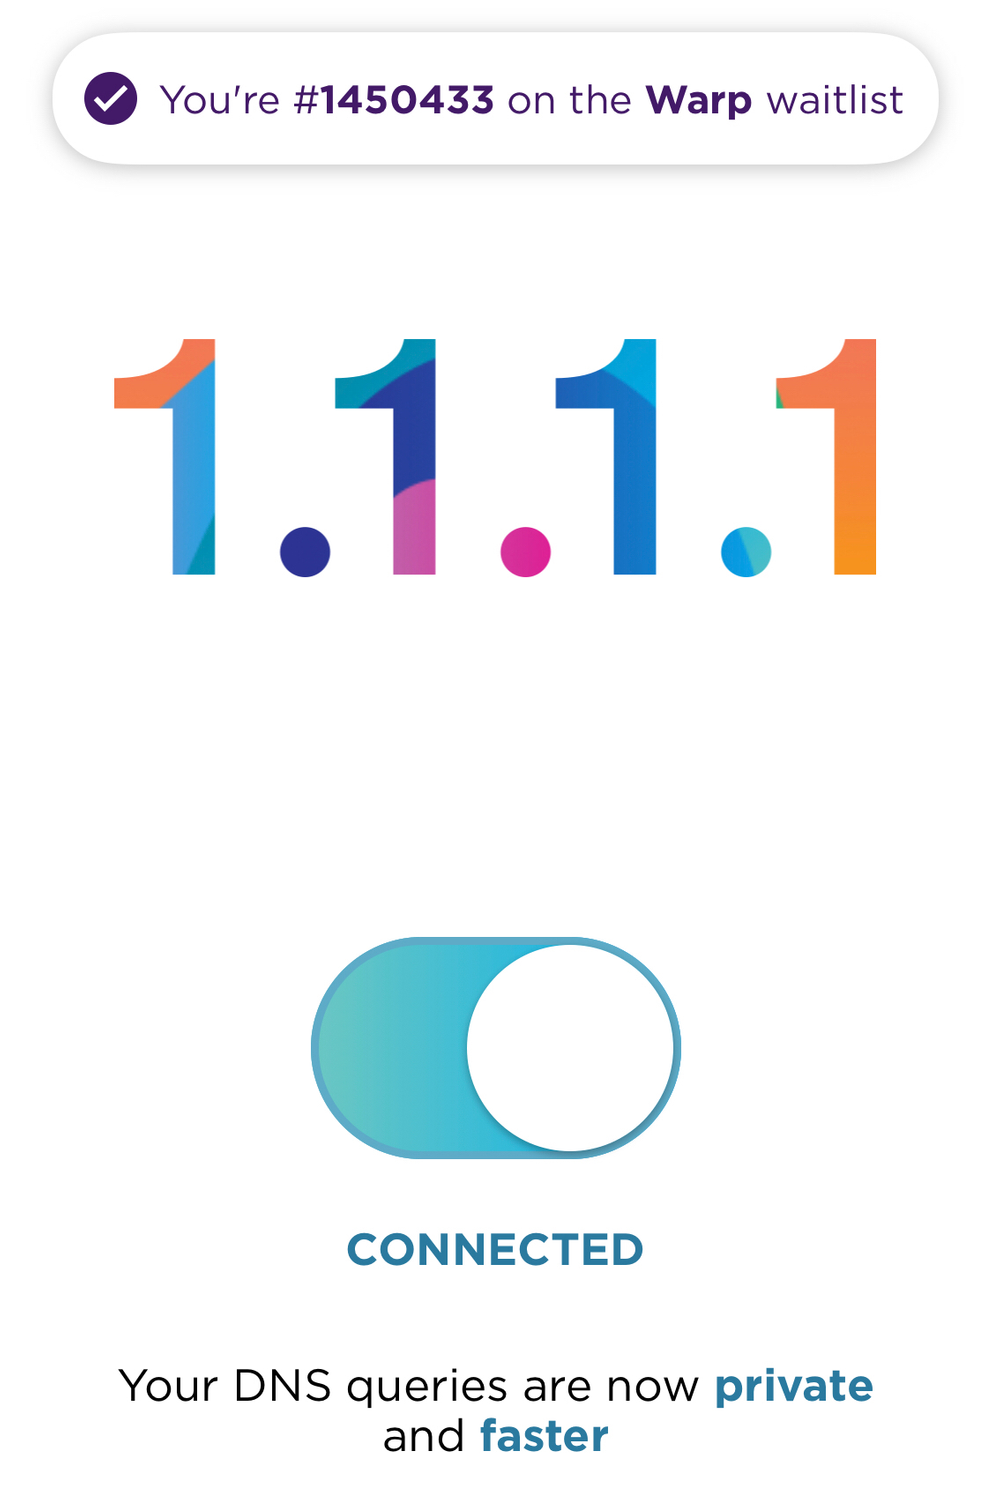
1.1.1.1 is a fast and private way to browse the Internet. It is a DNS resolver – kind of like Google Maps for your computer, it translates places – like facebook.com – into addresses – like 129.134.30.12. 1.1.1.1 is deployed in 150+ cities worldwide and has access to the addresses of 7M+ domain names on the same servers it runs on, so it’s the fastest resolver out there.
How to use it? Just install it, toggle it on and forget about it. It does not get simpler than that.
Step 5 - Use a VPN
Put simply, a Virtual Private Network, or VPN, is a group of computers (or discrete networks) networked together over a public network—namely, the Internet. Businesses use VPNs to connect remote data-centres, and individuals can use VPNs to get access to network resources when they’re not physically on the same LAN (local area network), or as a method for securing and encrypting their communications when they’re using an untrusted public network.
The most important thing you need to know about a VPN: it secures your Internet connection to guarantee that all the data you’re sending and receiving is encrypted and secured from prying eyes.
Behold Windscribe VPN features galore! You can use Windscribe for free, for as long as you like. With a confirmed email address, you get 10 GB/month of data, unlimited connections and access to over 10 countries.
Other great features: blocks IPs and domains (ads) of your choice on all devices, can’t personally identify you based on IP and timestamp, uses AES-256 cypher with SHA512 auth and a 4096-bit RSA key, generates OpenVPN, IKEv2 and SOCKS configurations for all your devices, and much more.
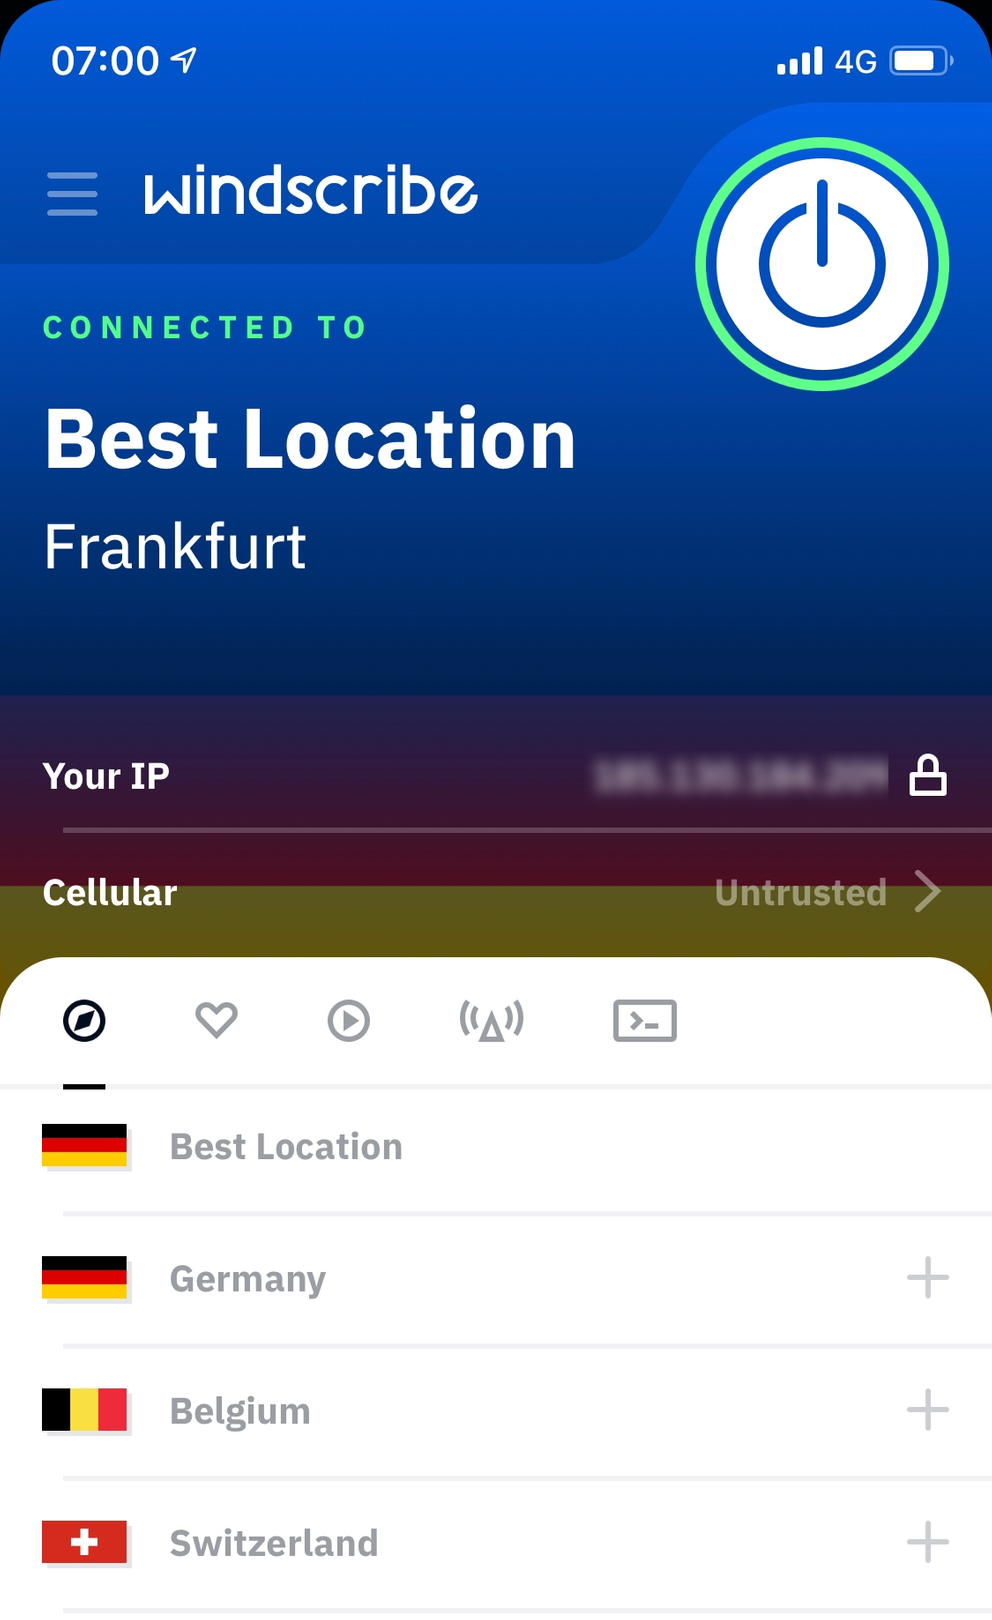
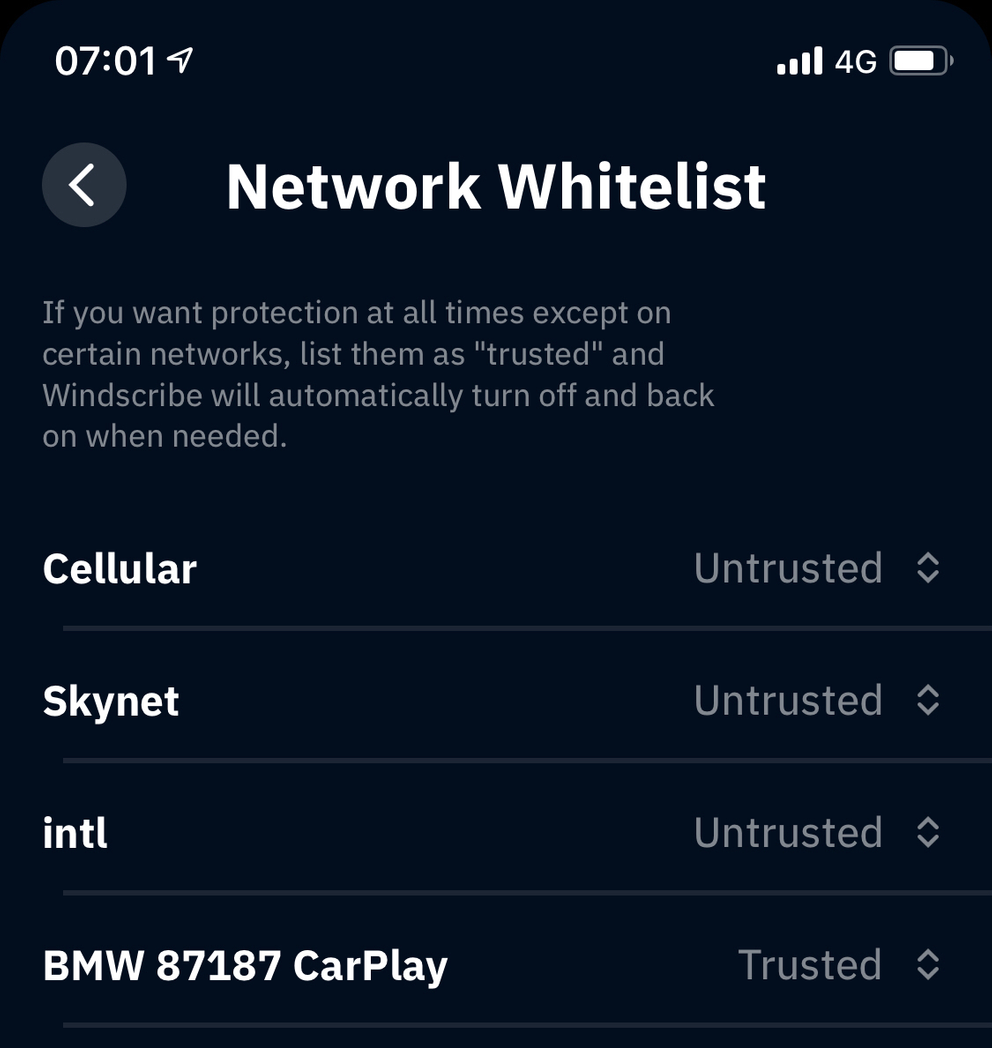
If you have some preferred secured networks that you trust (in my case, the BMW CarPlay was going crazy with a VPN so I had to disable it) you can easily whitelist them in the Network Whitelist section.
Conclusion
Nobody can ever assure a 100% security protection, particularly when it comes to online security. However, you can certainly minimize the risks by keeping employing some basic security measures. Use this article as a starting point and continue from here.
